 how-to
How to Fix Leaning Fence Posts: A Step-by-Step Guide
Table of Contents
- Why Fence Posts Lean: Diagnosing the Root Cause
- Assess the Damage: Post, Rails, and Footing
- How to Fix a Leaning Fence Without Replacing the Post
- How to Stabilize a Fence Post: The Digging and Reset Method
- Fence Post Leaning After Rain: Drainage and Prevention
- Replace a Rotted Fence Post: When Repair Is Not Enough
- Tools, Materials, and Timeline for Success
- Common Mistakes to Avoid When Fixing Leaning Posts
- Frequently Asked Questions
Last Updated: October 10, 2026
Why Fence Posts Lean: Diagnosing the Root Cause
Learning how to fix leaning fence posts starts with understanding why they lean in the first place. Several forces can push a post out of plumb, and each requires a different repair approach.
The most common culprits are frost heave, wood rot, soil erosion, and wind load, and they often combine, as when poor drainage leads to rot.
Frost heave and ground movement
Frost heave happens when water in the soil freezes and expands, pushing the post upward and outward. When the ground thaws, the post settles unevenly, and the cycle repeats each winter.
Clay soil makes this worse: heavy clay holds moisture and freezes hard.
Posts that lean worse after winter or during freeze-thaw cycles are the telltale sign of frost heave.
Rot, decay, and wood damage
Wood rot weakens the post from inside, starting where water collects, usually where the post meets the ground or where rails attach.
Untreated posts rot fast in moist climates; pressure-treated wood lasts longer but still rots if water sits on the surface. Look for soft spots, discoloration, or crumbling wood at the base.
If the post is rotted, straightening alone won't fix it. The structural damage is already done.
Soil erosion and poor drainage
Water running around the post erodes the soil. The footing loses contact with the ground. The post settles unevenly and leans toward the low spot.
Poor grading makes it worse: if water pools near the fence line instead of draining away, the soil turns soft and the post sinks on one side.
Check the ground around the fence: pooling water after rain or soil washed away on one side of the post are signs of erosion.
Wind load and installation failure
High winds push on the fence panels and rails. If the post isn't anchored deep enough or the footing is weak, it shifts, a single storm can move a post several inches.
Poor installation compounds this: posts set in loose gravel instead of concrete, or set at an angle from the start, fail faster under wind load.
Assess the Damage: Post, Rails, and Footing
Before you decide how to fix the fence, you need to know what's actually broken. A leaning fence could mean the post itself is damaged, the rails are loose, the footing has failed, or all three.
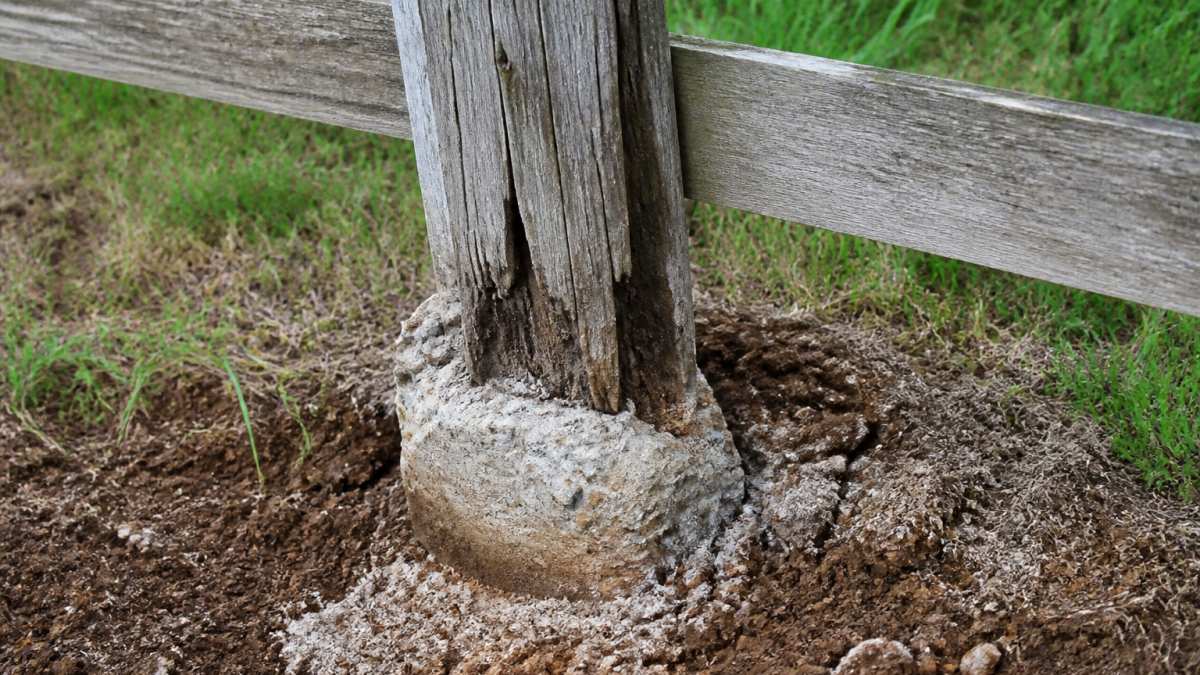
Check the post for rot and structural integrity
Push hard on the post at different heights. A strong post resists pressure; a weak one bends or creaks.
Inspect the wood for soft spots, dark stains, or areas that crumble when pressed, signs of rot.
If the post is solid and straight, but the fence still leans, the problem is elsewhere. If the post itself is rotted or severely damaged, straightening won't help.
Inspect rails and panel connections
Loose rails let the fence shift.
Check the fence panels for cracks, splinters, or pulling away from the rails. Damaged panels won't hold the fence upright and may fail under wind load.
If the rails are loose but the post is solid, tightening the connections might be enough to straighten the fence.
Evaluate the concrete footing
Dig around the base of the post and check the concrete. Is it intact, or cracked and crumbling?
If the concrete is solid but the post still leans, the footing was set at an angle from the start.
Pull away any loose concrete. See how deep the footing goes. A shallow footing (less than 18 inches) is more likely to fail than a deep one (24 inches or more).
How to Fix a Leaning Fence Without Replacing the Post
Not every situation requires a full reset, several methods can fix leaning fence posts without major excavation. If the post is structurally sound but out of plumb, several methods can straighten it without major excavation, best for posts only slightly tilted with solid wood and no rot.
Bracing and temporary support methods
A brace provides temporary or permanent support. Use a wooden brace or steel cable to pull the post back toward vertical.
Here's how to brace a post:
- Cut a wooden brace from 2x4 lumber, angled to fit from the post to the ground
- Attach one end to the post with lag bolts, about 3 feet up
- Anchor the other end to the ground with concrete or ground spikes
- Tighten the bolts gradually to pull the post upright
- Check the post with a level after each adjustment
A brace can be temporary (removed after a few months) or permanent.
Steel cables work similarly: attach one end to the post and the other to a ground anchor, then tighten to pull the post vertical.
Straightening with expanding foam or ground spikes
Expanding foam is a quick fix for posts leaning away from you.
This works only for small tilts (less than 2 inches).
Ground spikes offer another no-dig approach: drive a spike into the ground next to the post, angled away from the lean, then attach and tighten a cable or strap from the spike to the post.
Both methods are temporary. They don't fix the underlying problem, rot, erosion, or frost heave. But they can straighten a fence quickly without major work.
How to Stabilize a Fence Post: The Digging and Reset Method
When a post leans due to a failed footing, the only real fix is to dig it out and reset it properly. It's more work than bracing, but it solves the problem permanently because the footing is solid and deep.
Safety precautions and utility locating
Before you dig, call the utility locating service (811 Before You Dig). Underground gas, electric, and water lines run near fence lines. Hitting one is dangerous and expensive. Most areas offer free locating service.
Mark the utilities with paint or flags. Even after locating, hand-dig the first 12 inches to make sure you don't hit anything.
Wear gloves and eye protection. Use a digging bar and shovel, not a power auger, near utilities.
Excavating around the post and removing old concrete
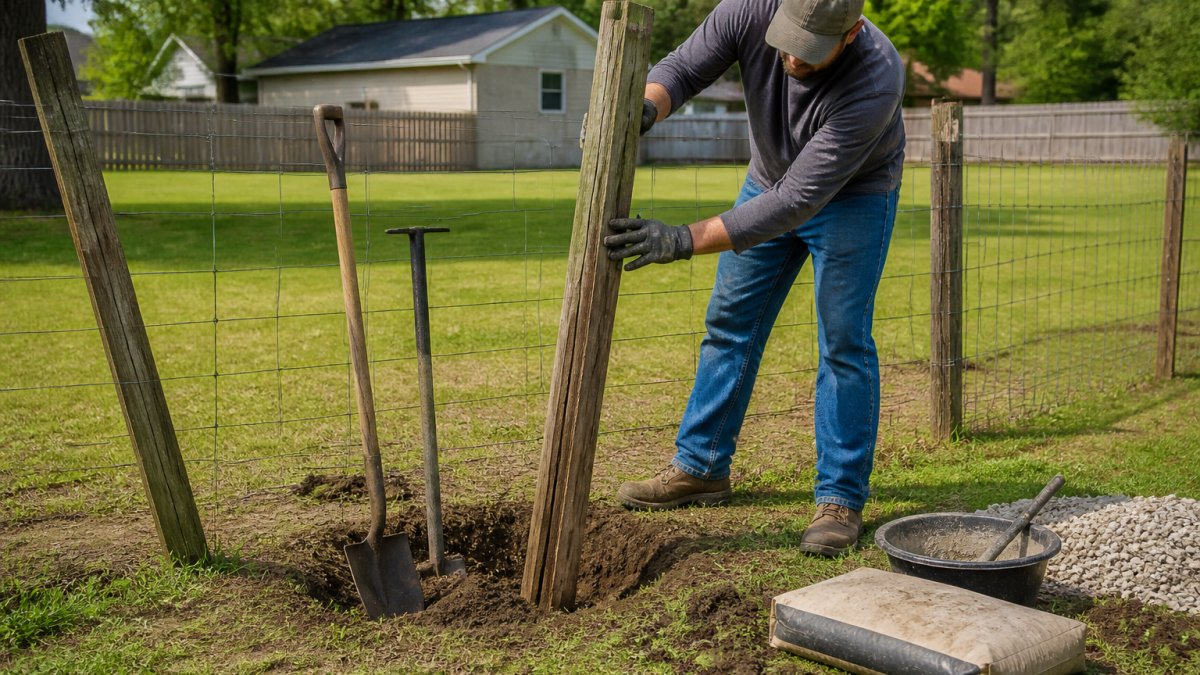
Dig a hole around the post, at least 18 inches in diameter and down to the bottom of the old footing.
Clear away loose soil. The hole should be wider than the footing so you can pack new concrete around it.
Remove the post if it's rotted or severely damaged. If it's sound, leave it in place and reset the footing around it.
Straightening the post and setting new footing
Set the post plumb using a level on two sides.
Mix concrete per the package directions and pour it into the hole around the post, filling to ground level.
Let the concrete cure at least 48 hours before removing the braces.
The new footing should be solid and level, and the post plumb. This repair lasts decades if the drainage is good.
Fence Post Leaning After Rain: Drainage and Prevention
A post that leans worse after heavy rain is telling you something: water is pooling around the fence.
If water consistently pools there, install a perforated drain pipe along the fence line.
For posts in clay soil, add gravel around the footing, it drains better than clay and keeps water from pooling.
Check the fence after rain. If water still pools, improve the drainage further.
Replace a Rotted Fence Post: When Repair Is Not Enough
A post that's rotted through is beyond repair. Straightening it won't help. The wood has lost its strength. It will fail again, probably soon.
Deciding between repair and replacement
If rot is only on the surface or in the bottom 6 inches, you might repair it: cut out the rotted wood and splice in a new section.
If rot goes deep into the post, or the post is soft and crumbly throughout, replacement is the only option, a rotted post can't support the fence reliably.
Check how much of the post is rotted.
Removing the old post and setting a new one
Remove the rails from the rotted post.
Clean out the hole, removing all old concrete and rotted wood debris.
Set the new post plumb in the hole, braced on two sides, and pour new concrete around it to ground level.
Reattach the rails once the concrete cures, using corrosion-resistant fasteners. The new post should be solid and plumb, and last 20 years or more.
Tools, Materials, and Timeline for Success
Here's what you need to fix a leaning fence post, depending on your method:
| Method | Tools Needed | Materials | Time Required |
|---|---|---|---|
| Bracing | Saw, drill, level, wrench | 2x4 lumber, lag bolts, concrete | 4-6 hours |
| Expanding foam | Shovel, foam injector, level | Expanding foam, caulk | 2-3 hours |
| Digging and reset | Shovel, digging bar, level, wheelbarrow | Concrete mix, gravel, water | 8-10 hours |
| Post replacement | Reciprocating saw, shovel, level, wheelbarrow | New post, concrete, fasteners | 12-16 hours |
For digging and reset work, a power auger can save time and effort. Hand digging works fine for one or two posts.
Concrete cures in 48 hours in normal weather. Hot, dry weather speeds curing. Cold or wet weather slows it. Plan for at least three days before the fence bears full load.
Common Mistakes to Avoid When Fixing Leaning Posts
The biggest mistake is not fixing the root cause.
Don't skip the level. A post that looks straight might not be, check two perpendicular sides.
Don't set the post too shallow.
Don't ignore rot. If the post is rotted, straightening won't help. Replace it. A rotted post is unstable and unsafe.
Don't forget drainage. Even a well-set post leans again if water pools around it.
Don't brace permanently without a plan.
Frequently Asked Questions
How do you fix a leaning fence post without removing it?
You can straighten a leaning post using expanding foam injected into the soil around the footing, or by installing ground spikes and bracing the post temporarily. For a more permanent solution, excavate around the post, check the concrete footing for damage, and reset it with fresh concrete if needed. This method works best when the post itself is still sound and the lean is caused by loose footing or soil settling rather than rot.
What causes fence posts to lean after heavy rain?
Heavy rain saturates soil and can cause frost heave, ground settling, or erosion around the post footing. Clay soil, common in this region, expands when wet and contracts when dry, destabilizing the post. Poor drainage around the footing accelerates this movement. If a post leans after rain, check the concrete footing for cracks or separation from the post, and ensure water drains away from the base rather than pooling around it.
How can you tell if a fence post needs to be replaced instead of repaired?
If the post shows deep rot, soft wood that yields to a screwdriver, or structural damage extending more than a few inches up from the base, replacement is safer and more durable than repair. Posts that have rotted for years often cannot be stabilized effectively. If the concrete footing is severely cracked or crumbling and the post has shifted significantly, removing and replacing the post with fresh material is the most reliable long-term solution.
How long does it take to fix a leaning fence post?
A straightforward repair using expanding foam or bracing takes 2-4 hours. A full excavation, reset, and concrete pour takes 1-2 days, plus 24-48 hours for concrete to cure before the fence bears full load. Post replacement typically requires 1-2 days of labor plus curing time. Timeline depends on soil conditions, footing depth, and whether utilities need locating.
A leaning fence post is fixable. The key is diagnosing why it's leaning, then choosing the right repair method. If the post is sound and the footing is solid, bracing or straightening might work. If the footing has failed or the post is rotted, reset or replace it. Construction Services can handle any of these repairs. We have the equipment and experience to straighten your fence right the first time. Contact us for a free consultation and estimate on fence post repair or replacement.