 how-to
Preventing Concrete Cracks on Clay Soil: A How-To Guide
Table of Contents
- Why Clay Soil Causes Concrete Cracks
- Assessing Your Site and Identifying Expansive Clay
- Clay Soil Concrete Slab Preparation: Step by Step
- Managing Drainage Around Your Concrete Slab
- Concrete Control Joints Spacing and Installation
- Repairing Concrete Cracks Caused by Clay Soil
- Common Mistakes to Avoid When Pouring on Clay
- Conclusion
- Frequently Asked Questions
Last Updated: October 12, 2026
Why Clay Soil Causes Concrete Cracks
Clay soil moves. When moisture content changes, clay expands and shrinks, and preventing concrete cracks clay soil requires understanding this cycle before pouring.
Dry seasons shrink the clay; wet seasons swell it. Each cycle stresses the slab above.
Concrete can't stay flat when the ground beneath it moves. Small movements create hairline cracks; larger shifts cause structural damage.
That's why preventing concrete cracks on clay soil means managing the soil first, not just placing concrete.
Assessing Your Site and Identifying Expansive Clay
On expansive clay, the site assessment is the highest-leverage step in the project, and the one most homeowners skip.
Start with the hand test, but treat it as a first filter, not a verdict. Dig a hole about 12 inches deep. Pull out a handful of soil and squeeze it.
- Holds together in a tight ball, feels sticky and slick when wet: high clay content.
- Crumples apart with light pressure: likely sand or gravel.
- Feels gritty but still binds: loam or clay-loam mix.
These clues are useful, but they tell you nothing about how much the clay will move, two soils that both pass the squeeze test can behave very differently under a slab.
Walk the property for active movement evidence. These signs indicate expansive soil is already working on your site:
- Diagonal or stair-step cracks in existing concrete, driveways, or walkways
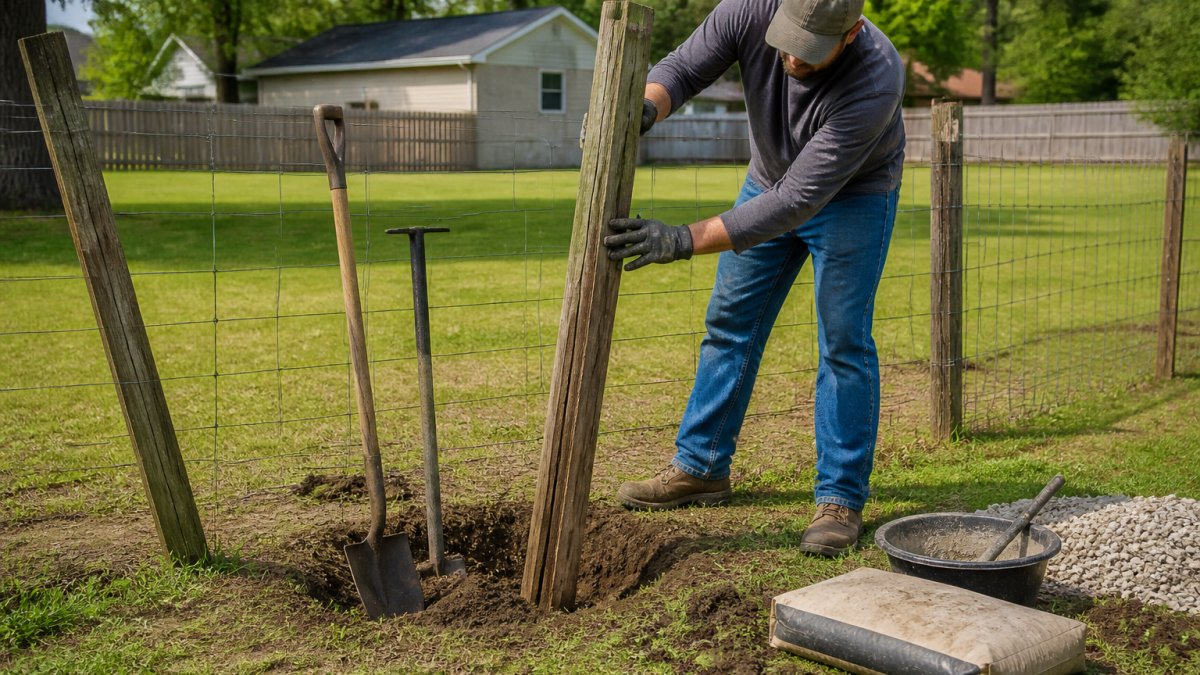
- Gaps opening between fence posts and the ground, or posts leaning out of plumb
- Doors and windows in older structures that stick seasonally (tight in wet months, loose in dry months)
- Visible vertical cracks in exposed soil or foundation walls
- Uneven settling, ponding in low spots, or a slab that rocks when you walk on it
Seasonal sticking doors are among the most reliable homeowner-visible indicators: a door that sticks every spring and frees every fall means the soil is cycling.
Talk to neighbors. If they've had concrete work done, ask what happened and how soon, a subdivision on the same clay lens shares behavior. Neighbor feedback often reveals block-specific patterns.
Know when to call in a geotechnical assessment. A professional soil evaluation is the most reliable approach, and it's warranted when any of the following apply:
- You're pouring a slab that will support a structure (house, garage, addition, shop) rather than a freestanding patio or walkway
- Existing concrete on the site has cracked within the first few years
- The lot has fill soil of unknown origin or was graded by a previous owner
- The site sits on a slope, near a drainage swale, or in a low-lying area that holds water
- You're in a region with documented expansive clay soils and no prior soil report exists for the lot
A geotechnical report identifies clay type, moisture content, expansion potential, and bearing capacity, data that shapes base depth, slab thickness, reinforcement, joint spacing, and drainage design. Skipping it on a structural slab is the most expensive shortcut in the project.
Match the slab design to the risk level. The assessment drives three decisions: how much unsuitable soil to remove, how thick and reinforced the slab must be, and how aggressive drainage must be. A low-risk site may need standard preparation; a high-swell site may need over-excavation, engineered fill, and a thicker reinforced slab.
Clay Soil Concrete Slab Preparation: Step by Step
Preparation determines success, and rushing it leads to cracked concrete within months. These steps are sequenced for a slab over expansive clay, the order matters.
Step 1: Strip and assess the subgrade. Dig out the top 4-6 inches of existing soil, which typically contains organic matter, roots, and inconsistent clay.
Step 2: Bring in quality fill. Import sand, gravel, or engineered base material to create a stable layer that resists moisture-driven expansion.
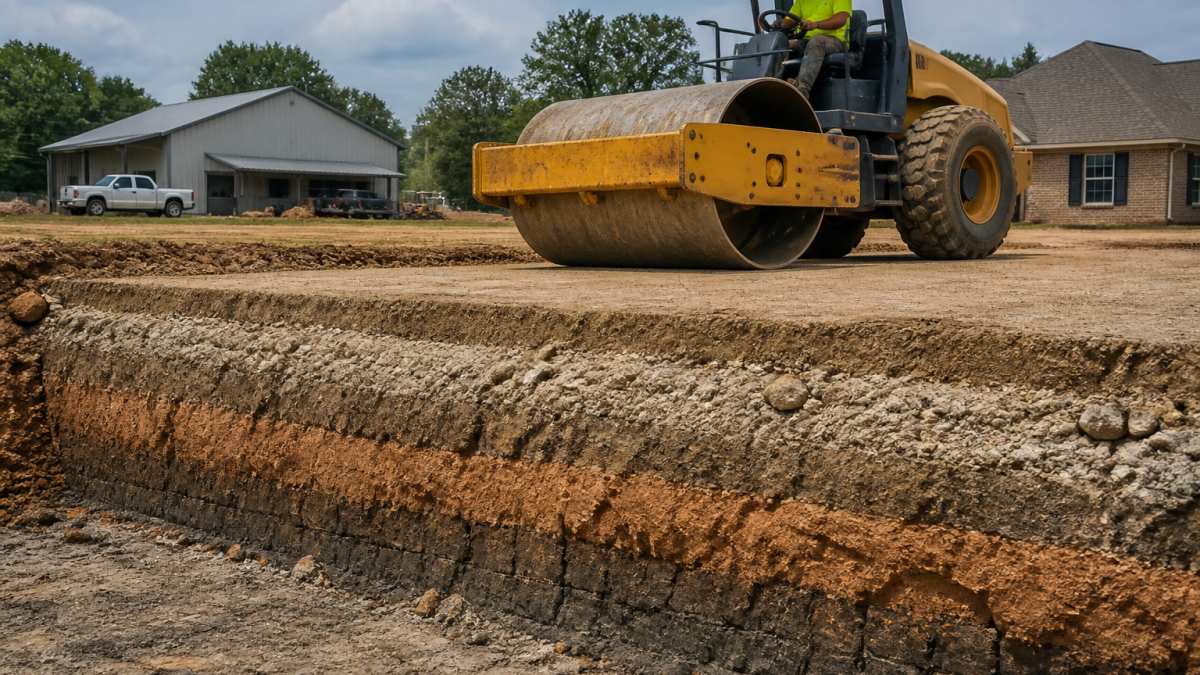
Step 3: Compact the fill material. Use a plate compactor or vibratory roller, making multiple passes in 2-3 inch lifts until you've built the full base depth.
Step 5: Verify grade and drainage. The slab should slope gently away from structures, aim for 1-2%, since standing water accelerates the expansion and contraction cycle.
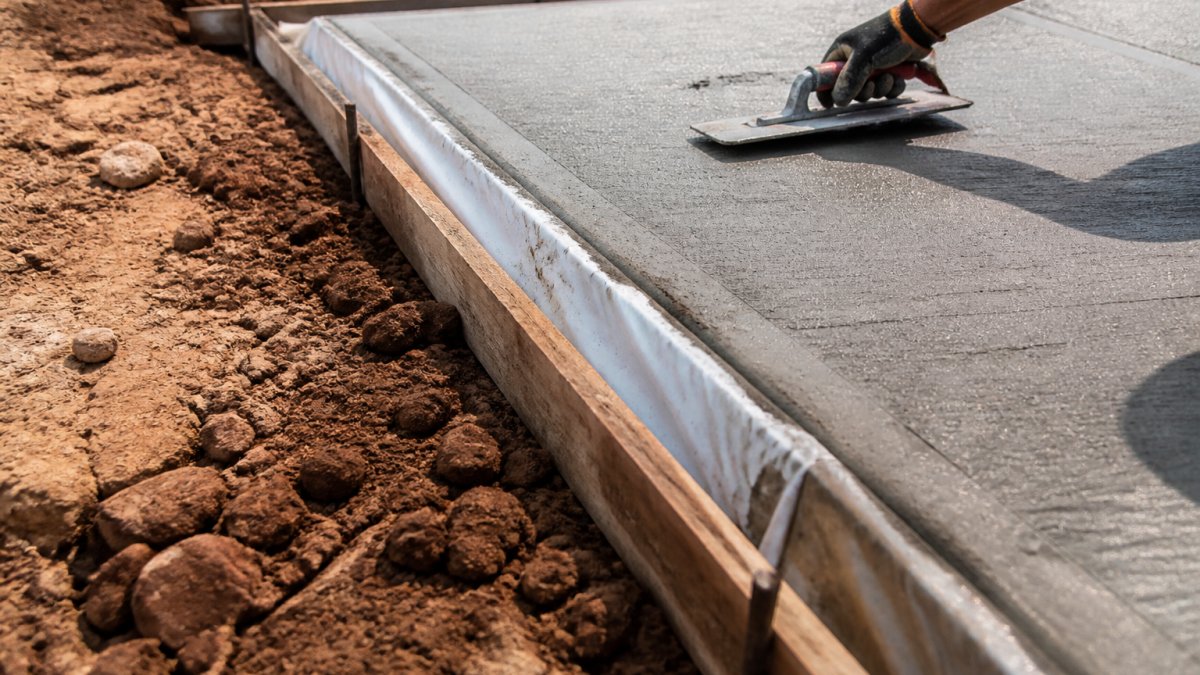
Step 6: Set up forms and reinforcement. Wooden or metal forms hold concrete in place while it sets and define the slab edges and thickness; secure them firmly so concrete pressure doesn't shift them during pouring. On expansive clay, reinforcement matters more than on stable ground:
- Welded wire mesh or rebar placed in the middle of the slab helps hold cracks tight if they do form.
- Fiber reinforcement can supplement, but it doesn't replace steel for structural slabs.
- Slab thickness for a patio or walkway is commonly 4 inches; driveways and structural slabs are often 5-6 inches or more, depending on load and soil risk.
- Chairs or dobies keep reinforcement at the correct depth, mesh lying on the ground does almost nothing.
Step 7: Plan joints before you pour. Control joints should be laid out on paper before the concrete arrives.
Step 8: Cure the slab properly. Curing is not optional on clay. Concrete gains strength as it cures, and rapid moisture loss causes shrinkage cracks before the slab ever sees soil movement.
These steps take time, but they're where the real work happens. Skipping or rushing any of them is where most concrete fails on clay soil.
Managing Drainage Around Your Concrete Slab
Water is the enemy of stable concrete on clay. Manage it aggressively.
Surface drainage stops water from pooling on the concrete. The 1-2% slope from preparation handles this; if water collects in low spots, re-grade or add a drainage channel.
Subsurface drainage prevents water from accumulating beneath the slab. Install a perimeter drain line if the slab is adjacent to the foundation. This French drain or similar system collects water and directs it away from the structure.
Gutters and downspouts matter more than many homeowners realize. Route them away from the concrete, a downspout dumping water next to a patio creates a wet zone where the clay expands and cracks the concrete above it.
Grading around the slab should slope away in all directions. Avoid creating valleys or low spots where water collects. Even small depressions become problem areas in heavy rain.
Vegetation management affects moisture too. Plant trees and shrubs away from the slab, since roots pull moisture and cause localized drying and shrinkage, while dense wet ground cover adds moisture. Balance is key.
Drainage is ongoing maintenance, not a one-time fix. Check after heavy rain. Adjust grading if water pools. Clean gutters seasonally. These habits prevent many concrete problems before they start.
Concrete Control Joints Spacing and Installation
Control joints are intentional cracks. They guide concrete to crack where you want it to, not randomly across the slab.
Why they matter: Concrete shrinks as it cures and moves with temperature changes. Without control joints, this stress releases as unpredictable cracking; joints provide relief points.
Spacing guidelines: For most residential slabs on clay, space control joints every 4-6 feet. This means a 12-foot by 20-foot patio gets joints running both directions, creating a grid of rectangles roughly 4-6 feet on each side.
Installation timing: Cut control joints 24-48 hours after pouring, once the concrete holds a clean edge but is still soft enough to cut without shattering, to a depth of 1/4 to 1/3 the slab.
Depth matters: A shallow cut won't guide cracking; too deep weakens the slab. The right depth creates a weak point that cracks predictably without compromising structural integrity.
Joint materials: Some contractors fill joints with flexible sealant, allowing seasonal movement while keeping water out; open joints shed water but collect debris.
Preventing concrete cracks clay soil includes strategic joint placement. It's not optional. It's part of the concrete specification.
Repairing Concrete Cracks Caused by Clay Soil
Cracks happen. The goal is to repair them before they become structural problems.
Hairline cracks (less than 1/8 inch wide) are cosmetic. They don't affect function. You can leave them or seal them for appearance. A concrete crack sealant applied with a caulk gun fills these cleanly.
Small cracks (1/8 to 1/4 inch) need attention. They're wide enough to collect water and dirt. Water enters the crack, freezes in winter, and widens it further. Seal these with concrete caulk or epoxy filler.
Larger cracks (wider than 1/4 inch) indicate structural movement and require professional assessment. The cause, soil settlement, expansive clay movement, or poor initial preparation, determines the repair approach.
Injection repair uses epoxy or polyurethane injected under pressure into the crack. This bonds the concrete on both sides and fills the void. It works well for cracks that don't involve ongoing movement.
Patching removes the damaged concrete and replaces it. This is more invasive but effective when cracks are severe or widespread.
Addressing root causes matters most. If clay expansion caused the crack, filling it won't prevent future cracking, stabilize the soil or improve drainage to stop the underlying movement.
Many cracks recur if you don't fix what caused them. That's why prevention is far more cost-effective than repair.
Common Mistakes to Avoid When Pouring on Clay
Learning from others' errors saves time and money.
Skipping soil preparation. Some contractors pour directly on existing soil, especially for small patios. This is the biggest mistake, inadequate base preparation is why most concrete fails on clay soil.
Ignoring drainage. Concrete fails faster when water sits around it. Proper grading and drainage systems prevent most moisture-related problems. This isn't optional on clay soil.
Using the wrong concrete mix. A mix designed for stable soil may not perform well on clay. Mix design affects how concrete cures and responds to movement, and a contractor experienced with clay soil knows the right specifications.
Skipping control joints. Some contractors minimize joint work to save time. Concrete cracks anyway, just unpredictably. Proper joint spacing is cheap insurance.
Not accounting for seasonal changes. Concrete poured in summer behaves differently than in winter, curing time, moisture content, and temperature all affect the final product, so experienced contractors adjust by season.
Underestimating compaction. Loose base material settles after the concrete is poured. This creates voids and uneven support. Proper compaction prevents this.
Inadequate moisture barriers. Skipping the membrane between soil and concrete allows rapid moisture migration that stresses the concrete. It's inexpensive insurance.
We understand clay soil. We know what prevents concrete cracks before they happen.
Conclusion
Preventing concrete cracks on clay soil is about managing moisture and movement from the start. Proper site assessment, base preparation, drainage, and joint placement work together to create concrete that lasts.
If you're planning concrete work in the area, get a professional evaluation first. Construction Services offers free consultations to assess your site and recommend the right approach. Get a quote today and see how we can protect your concrete investment.
Frequently Asked Questions
Why does clay soil cause concrete to crack?
Clay soil expands when it absorbs moisture and shrinks when it dries. These movements push and pull on concrete slabs, creating stress that leads to cracks. In areas with seasonal drought or heavy rain, the repeated expansion and shrinkage cycles accelerate cracking. Proper subgrade preparation and drainage reduce this movement and help prevent concrete cracks.
How do you prepare clay soil before pouring concrete?
Remove topsoil and organic material, then compact the subgrade in 4-inch lifts using a plate compactor or roller. Pre-wet the clay 24 hours before pouring to stabilize its moisture content. Add a 4-6 inch gravel base and compact it thoroughly. This preparation reduces future soil movement and is essential for preventing concrete cracks on clay soil.
Does wetting clay soil help prevent concrete cracks?
Yes, pre-wetting clay soil before concrete placement stabilizes its moisture content, reducing the risk of shrinkage cracks after the concrete cures. Wet the subgrade 24 hours in advance so the clay reaches a consistent moisture level. This prevents the soil from drawing moisture from the concrete mix during curing, which can weaken the concrete and cause surface cracking.
How can drainage reduce concrete cracking on clay soil?
Good drainage prevents water from pooling under or around the slab, which keeps soil moisture levels stable. Install perimeter drainage, slope the grade away from the concrete, and use a gravel base to manage water movement. Stable moisture content means less soil expansion and shrinkage, which directly reduces the stress that causes concrete cracks caused by clay soil.