 how-to
How Do You Install a Residential Concrete Driveway?
Last Updated: November 10, 2026
Quick Summary
To install a residential concrete driveway, first prepare a stable base by excavating, grading the subgrade away from the house, and compacting crushed stone in layers. Then set level forms, place reinforcement on chairs, pour in sections, and cut control joints and cure the slab properly.
- Call 811 at least a few business days before digging to locate buried utility lines.
- Compact crushed stone in layers and use chairs to hold reinforcement mid-slab.
- Plan a drainage slope of about 1/4 inch per foot away from the house.
- Never add water to the mix on site, since every extra gallon weakens the finished surface.
- Keep the slab moist during curing, longer in cool weather, to build strength.
Table of Contents
- Start With Site Preparation and Excavation
- How to Build a Concrete Driveway Step-by-Step
- Choosing the Right Driveway Concrete Mix
- Pouring a Concrete Driveway in Sections
- Concrete Driveway Construction Details That Prevent Cracking
- Finishing, Curing and Permits: Common DIY Mistakes to Avoid
- Booking Your Concrete Driveway With Construction Services
- Frequently Asked Questions
Start With Site Preparation and Excavation
Most driveways that crack early were set up wrong long before the concrete arrived. The base is where a concrete driveway succeeds or fails. Clay soil can swell when wet and shrink when dry, which puts stress on any slab sitting on top of it. See specific crack-prevention methods for clay soil.
Before any digging, mark the driveway layout and check where utility lines run. Follow a step-by-step guide to preparing soil for concrete. Call 811 at least a few business days before you dig (811 Before You Dig). It is a free service that marks buried lines in the public right-of-way and on most private property.
Next, excavate to the depth your plan calls for, remove topsoil and organic material, and grade the subgrade so it slopes away from the house. Remove soft or wet spots and replace them with compacted fill.
- Mark the driveway edges with stakes and string
- Call 811 before digging
- Remove topsoil and roots
- Grade the subgrade for drainage away from structures
- Replace soft spots with compacted fill
How to Build a Concrete Driveway Step-by-Step
A concrete driveway goes down in a clear sequence. Skipping a step usually shows up later as cracks, low spots, or a surface that flakes.
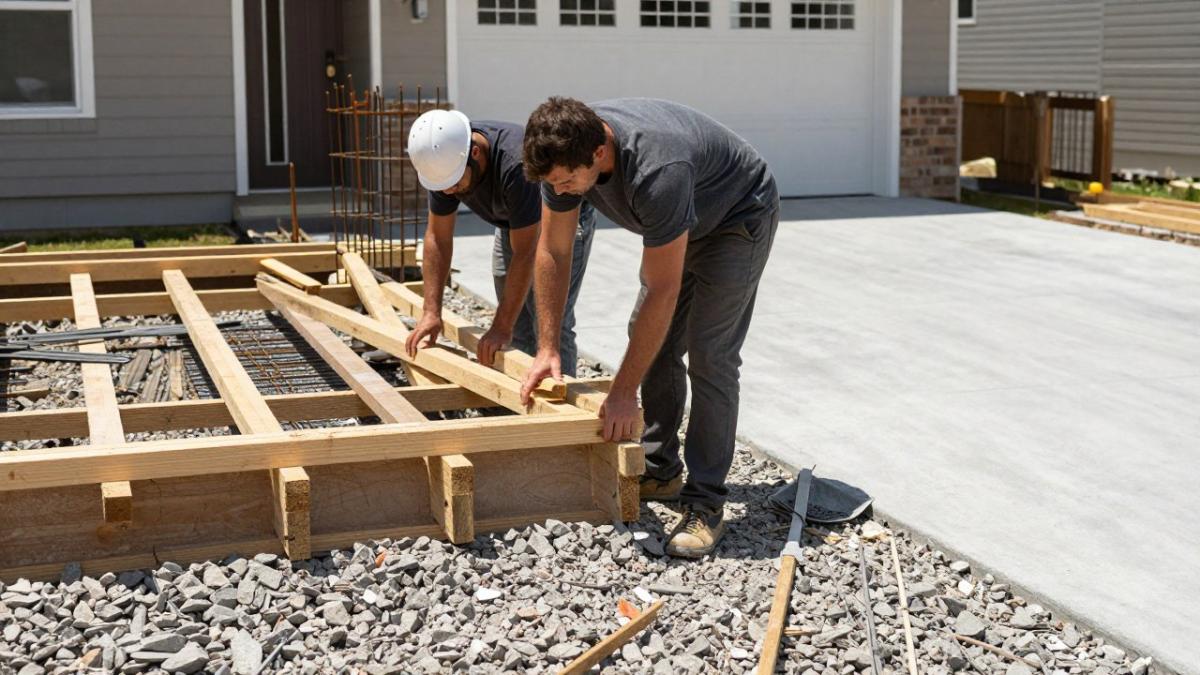
Sub-Base Installation and Compaction
Spread crushed stone, typically 3/4-inch crushed concrete or gravel, in layers. Compact each layer before adding the next. A compacted base gives the slab firm support and helps drainage move water away from underneath.
Formwork, Reinforcement and Drainage Slope
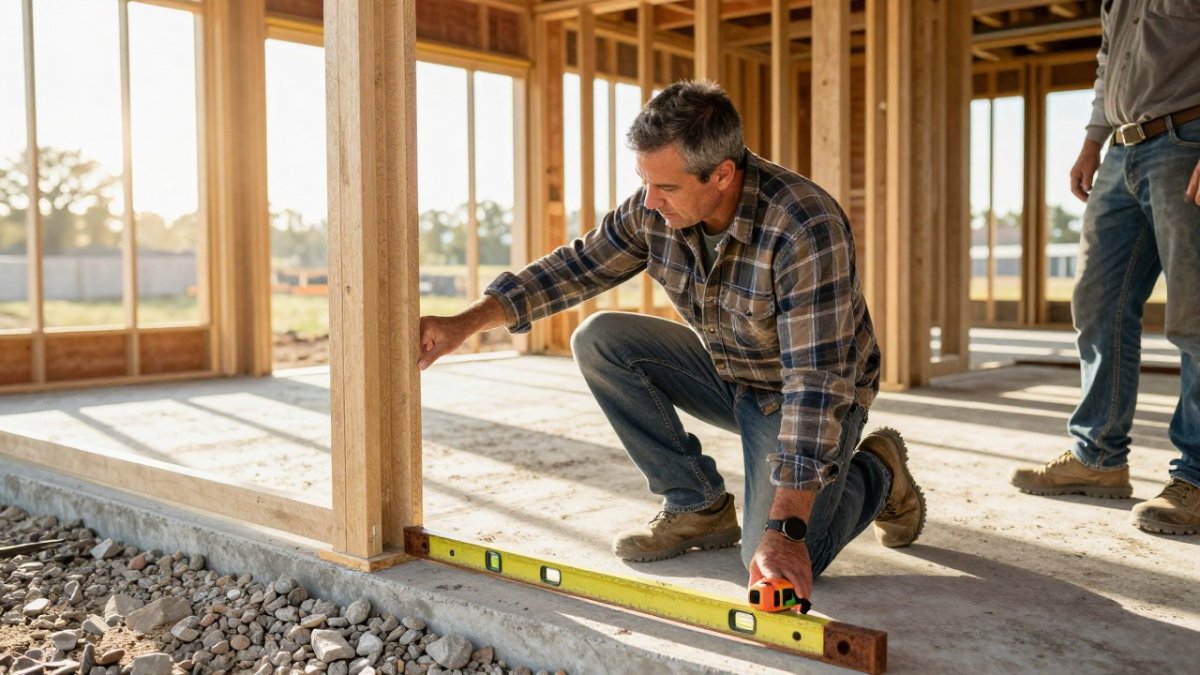
Set wood or metal forms to the driveway thickness and check that they are level and straight. Lay rebar or wire mesh on chairs so it sits in the middle of the slab, not on the ground. Plan for a slope of about 1/4 inch per foot away from the house so water runs off instead of pooling.
Watch out: Reinforcement that rests on the ground ends up at the bottom of the slab, where it does little good. Use chairs or spacers to hold it up.
The core steps for building a concrete driveway, as covered in this section, are summarised below.
| Step | What to do | Key detail |
|---|---|---|
| Sub-base | Spread crushed stone in layers and compact each one | Compacted base supports the slab and helps drainage |
| Formwork | Set forms to driveway thickness and check they are level | Forms should be level and straight |
| Reinforcement | Lay rebar or wire mesh on chairs | Keeps reinforcement in the middle of the slab |
| Drainage slope | Slope the surface away from the house | About 1/4 inch per foot |
Choosing the Right Driveway Concrete Mix
A driveway mix is not the same as a sidewalk mix or a foundation mix. It has to carry vehicle loads, shed water, and survive whatever the local climate throws at it. The mix design is where most of that durability is decided, long before the first truck arrives.
Compressive Strength (PSI)
The final strength specification should be confirmed with your ready-mix supplier and matched to your project plan, including expected vehicle loads and grade, rather than picked from a general chart.
Air Entrainment for Freeze-Thaw
If winters bring repeated freezing and thawing, specify air-entrained concrete. Entrained air bubbles give expanding water somewhere to go, which is what prevents surface scaling and popouts. The supplier should confirm the exact air content target for the mix. Skipping air entrainment in a cold climate is one of the most common reasons a driveway spalls within a few seasons.
Water-Cement Ratio and Slump
The water-cement ratio controls strength and permeability more than any other single variable. A lower ratio produces a denser, stronger, more freeze-resistant slab. Slump measures workability, and the target should be confirmed with your supplier. A mix that arrives too stiff should be adjusted by the supplier with a plasticizer, not by hosing water into the drum on site. Every gallon of extra water weakens the finished surface.
Watch out: Crews that add water to make the mix easier to screed are trading long-term durability for an easier afternoon, and the cracking and scaling show up a year or two later.
Aggregate Size and De-Icing Salt
Aggregate size should be confirmed with your supplier for the planned driveway. If de-icing salts are used in your area, ask the supplier about a mix designed for salt exposure and avoid finishing techniques that bring too much paste to the surface. A weak, paste-rich top layer is what scales when salt and freeze-thaw combine.
What to Ask the Supplier
Before you order, confirm the PSI, air content, slump, aggregate size, and whether the mix is specified for exterior flatwork. Get the mix design in writing so the ticket matches what you planned for. If the supplier cannot answer those questions clearly, that is a reason to call a different plant.
Pouring a Concrete Driveway in Sections
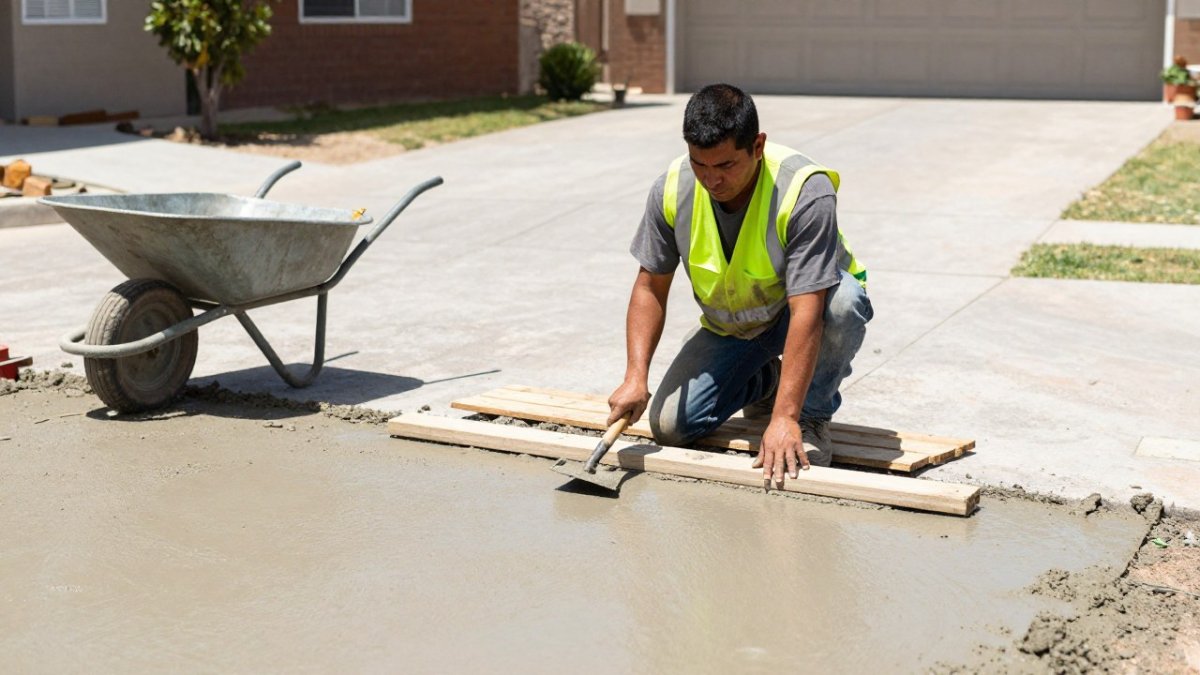
Pour the driveway in sections, not all at once. Learn the signs of bad concrete workmanship to spot early. Sections make it easier to finish the surface before it sets and give the slab room to move with temperature changes.
Work from one end to the other. Screed the surface to level, float it to close the top, and then finish it. A broom finish gives good traction on a driveway. Protect the fresh slab from rain, heat, and fast drying.
Concrete Driveway Construction Details That Prevent Cracking
Cracking is not bad luck. Most cracks trace back to a specific decision, joint spacing, slab thickness, subgrade support, or curing, and each one can be controlled. The goal is not to eliminate all cracking, because concrete always cracks somewhere. The goal is to make it crack where you planned.
Control Joint Spacing and Depth
Control joints should be spaced according to slab thickness and cut to a depth that encourages cracks to form at the joint rather than across the surface; your contractor can confirm the layout for your slab.
Timing the Saw Cuts
Saw cuts need to happen while the concrete is still green but hard enough not to ravel. The timing window depends on weather conditions. Cutting too early tears the surface; cutting too late lets random cracks form first. A common pattern is to cut the same day or the next morning, and to check the slab for early shrinkage cracks before cutting.
Watch out: Waiting until the next afternoon to cut joints in hot, windy weather is one of the most reliable ways to end up with random cracks that ignore your layout.
Expansion Joints at Fixed Structures
Control joints manage shrinkage within the slab. Expansion joints isolate the driveway from things that will not move with it, the garage slab, the house foundation, steps, and any fixed wall or pier. A joint filler board set against those structures lets the driveway move independently. Skipping it is a common cause of cracks radiating away from the garage apron.
Slab Thickness and Subgrade Support
A 4-inch slab is standard for passenger vehicles, but 5 inches is common where trucks, RVs, or heavy loads are expected. Thickness only helps if the subgrade underneath is uniform and compacted. A soft spot under one corner concentrates stress and cracks the slab above it, no matter how well the joints are laid out.
Curing Methods and Duration
Curing is not optional, and it is not the same as drying. Concrete gains strength through a chemical reaction that needs moisture. Keep the surface moist for an adequate curing period, longer in cool weather (What is curing?). Options include a curing compound sprayed on after finishing, plastic sheeting, or keeping the slab damp with a soaker hose or wet burlap. Fast drying in sun and wind causes surface cracks and a weak top layer that scales later.
Climate Adjustments
In hot, dry, windy conditions, shrinkage happens faster and the saw-cut window narrows. In freeze-thaw climates, air entrainment and proper drainage matter more than joint spacing alone. The same slab design does not fit every climate, so adjust curing, joint timing, and mix design to the local conditions rather than following a single generic recipe.
Finishing, Curing and Permits: Common DIY Mistakes to Avoid
Most DIY driveway problems come from a few repeat mistakes:
- Adding water to the mix to make it easier to spread
- Finishing the surface too early or too late
- Skipping control joints or cutting them too late
- Pouring without checking local permit requirements
Permit costs vary by location and project scope. Check with your city or county building department before you start. Some projects need inspections at set stages, and skipping them can cause trouble when you sell the home or file an insurance claim.
Tool rental can make sense for a small driveway. Compare the rental cost against buying a mixer, screed, and float, and count the time you will spend.
Booking Your Concrete Driveway With Construction Services
Doing a driveway right takes planning, the right mix, and careful finishing. If you are already dealing with a concrete problem, explore how to repair a residential concrete foundation. If you would rather have a professional handle it, Construction Services offers residential concrete work and free consultations and estimates. Our team is fully equipped with skilled workforce and heavy equipment, and we can walk you through the options for your project.
Pricing depends on size, site conditions, and the finish you choose, so contact us for a current quote. Visit us at 235 N Gun Barrel Ln, Gun Barrel City, TX 75156.
Frequently Asked Questions
What is the 4-2-1 rule for concrete?
The 4-2-1 rule is a common mix guideline for flatwork: 4 parts coarse aggregate, 2 parts sand and 1 part cement by volume. It describes a basic proportion, but a residential driveway usually calls for a ready-mix product rated for its exposure, not a hand-mixed batch. Ask your contractor which mix strength and air-entrainment level they plan to use for your climate, and confirm it on the delivery ticket.
Is 4 inches of concrete thick enough for a driveway?
Four inches is a common thickness for a standard passenger-car driveway, but heavier vehicles such as RVs or work trucks often call for more. Thickness should be paired with a compacted sub-base and proper control joints. Discuss expected vehicle loads with your contractor before the slab is designed, since the right thickness depends on the site and use.
How long should a concrete driveway cure before you drive on it?
Concrete typically needs several days before light foot traffic and about a week or more before vehicles drive on it, depending on temperature, humidity and mix. Curing compound or regular misting helps the surface gain strength. Keep vehicles off the slab until it has cured fully, and watch for hot or cold weather that can slow or speed the process.
Can you pour a concrete driveway in sections?
Yes. Pouring in sections is a standard method for managing a large slab, as long as you plan the work with cold joints or construction joints placed where control joints would fall anyway. Each section should be formed, reinforced and finished in sequence so edges are clean and the joints line up. Your contractor can map the section layout before the first pour.